How to Install a TTRS Clutch on a MK7

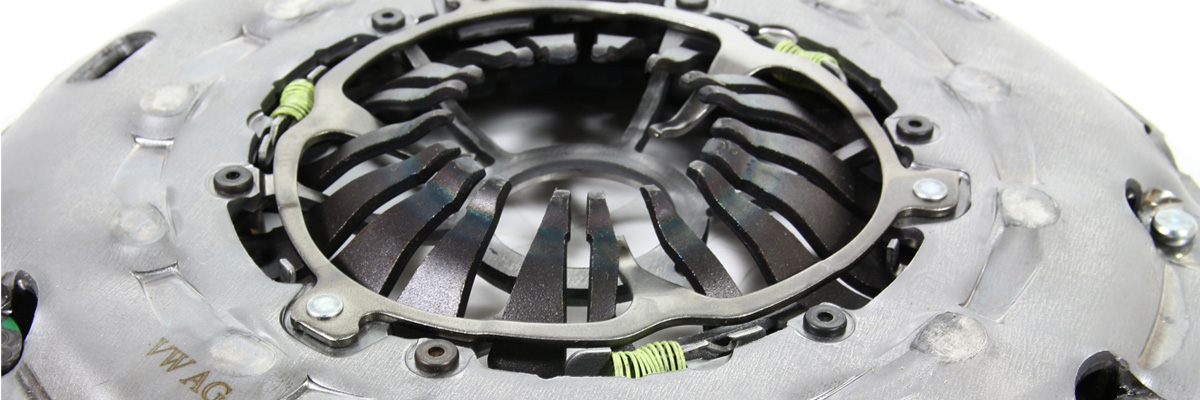
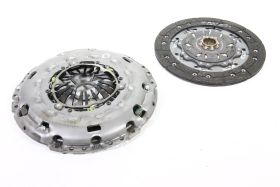
Below you will find the details on what it takes to install an Audi TTRS Pressure Plate on your 6 speed manual transmission MK7. This is most often done to upgrade the clutch on your MK7 with better clamping force, while still maintaining an OEM type feel. This would generally be referred to as an OEM+ mod. This clutch is said to hold up to 430lbft of torque, which exceeds the output of almost all non big turbo MK7 models. If your MK7 is in need of a clutch and you want to keep the stock feel, then this upgrade might be for you.
Parts Required for TTRS Clutch on your MK7
- Audi TTRS Clutch Kit (good for 430lbft of tq)
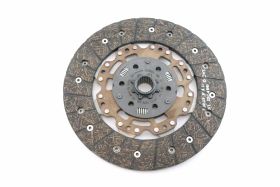
- 240mm Sachs Clutch Disc (TTRS Disc will not work on your car)
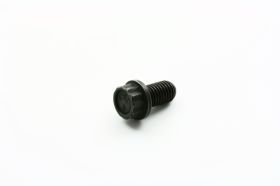
- Pressure Plate Bolts (qty 6 required)
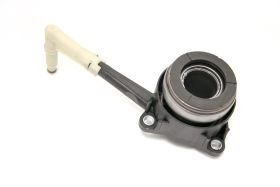
- Throw Out Bearing
Tools needed to install the TTRS Clutch on your MK7
-Sockets:
7mm
10mm
13mm
16mm
18mm
21mm
9mm 12 point(clutch bolts)
24mm 12 point(axle bolt)
-Bits: - Torx Bit Set - Triple Square Bit Set -
10mm triple square
12mm triple square
T25 torx
T30 torx
15/64 drill bit or stepped drill bit up to atleast ¼”
6mm long hex key
-Other
Pliers
Pry bar
Hammer
Clutch alignment tool
Drill
Ratchets
Extensions
Swivels
Torque Wrench
Here is a basic outline of this TTRS Clutch Install on a MK7
- From top side of car remove the air filter box, battery, and battery tray (don’t forget 10mm nut on back side of battery tray on the lower strut tower).
- After that I remove the shifter linkage and bungee it up and out of the way.
- Remove the starter and disconnect the reverse light switch at this time and tuck the wires up on the frame rails.
- Next jack up the car and place it safely on jack stands.
- Remove both front wheels and set aside.
- Remove the belly pan from underneath the motor and the left side lower wheel well plastics that connect to the front bumper.
- Next loosen and remove the axle bolts with the 24mm 12pt socket,
- then remove the ball joint nuts, and the axles.
- Remove the right side axle cup from the transmission and the dog bone mount and lower charge pipe rubber section.
- Remove the slave cylinder bleeder and drain the clutch line.
- At this point you need to safely support the motor.
- After supporting the motor you can remove the transmission mount bolts and transmission mount bracket.
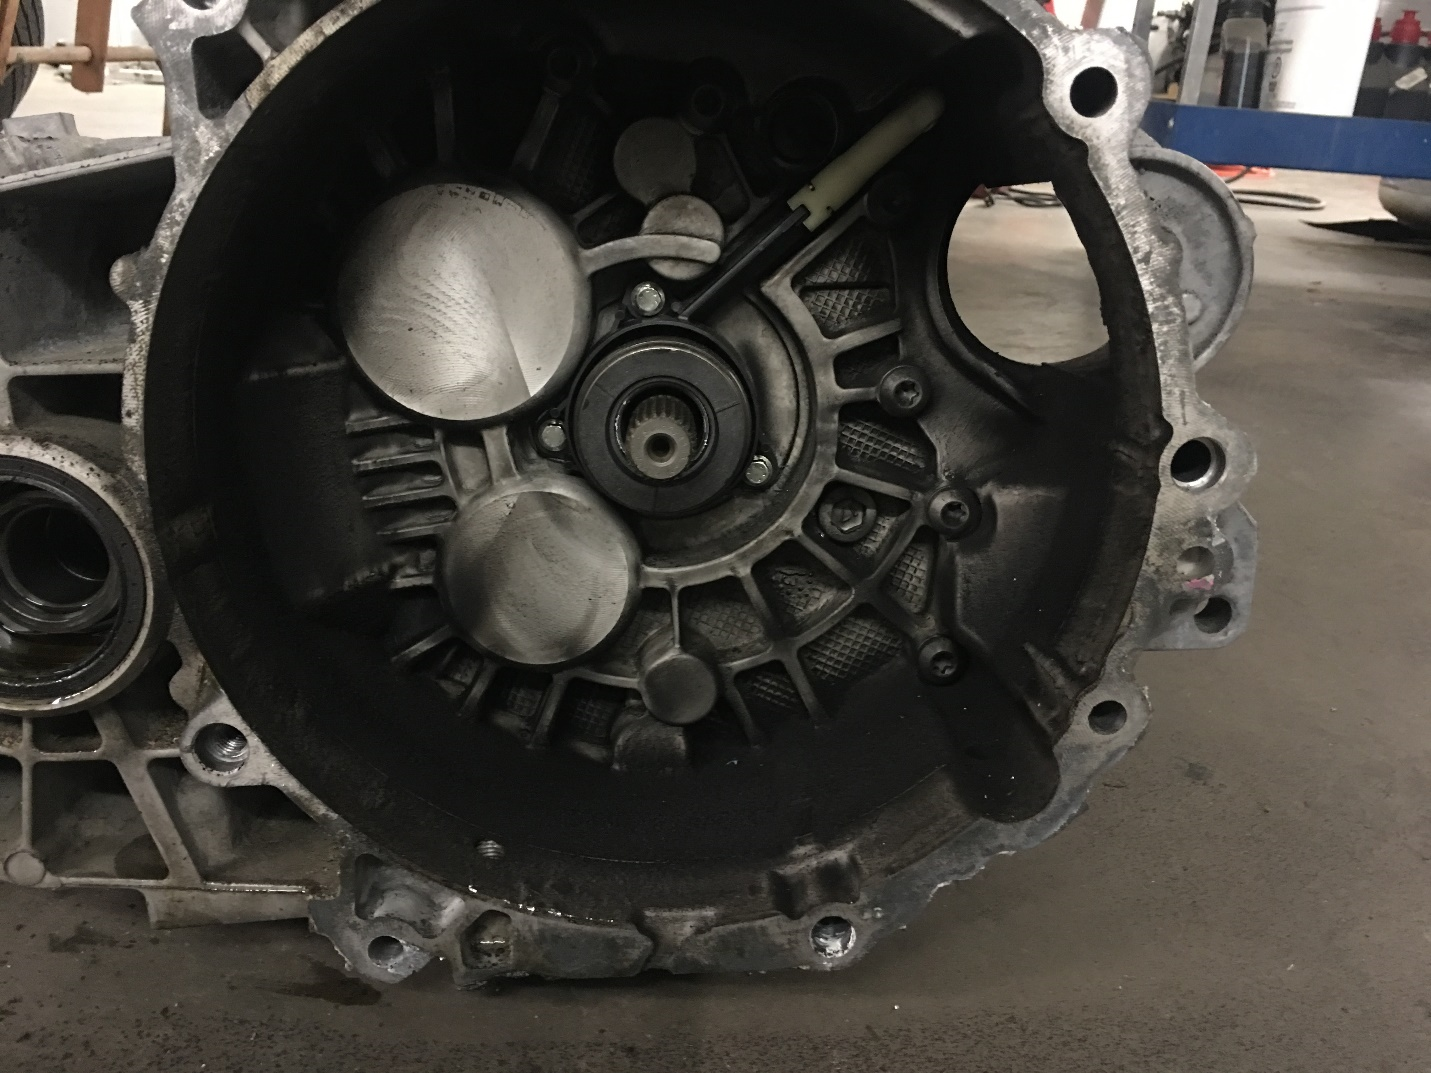
- Next remove the 8 bolts securing the transmission to the engine making note of their location while supporting the transmission.
- At this point the trans is ready to come out, you will move it to the left while pushing the differential up into the engine area to clear the subframe until its clear of the fly wheel and can be removed.
- Remove the slave cylinder from the bell housing and replace.
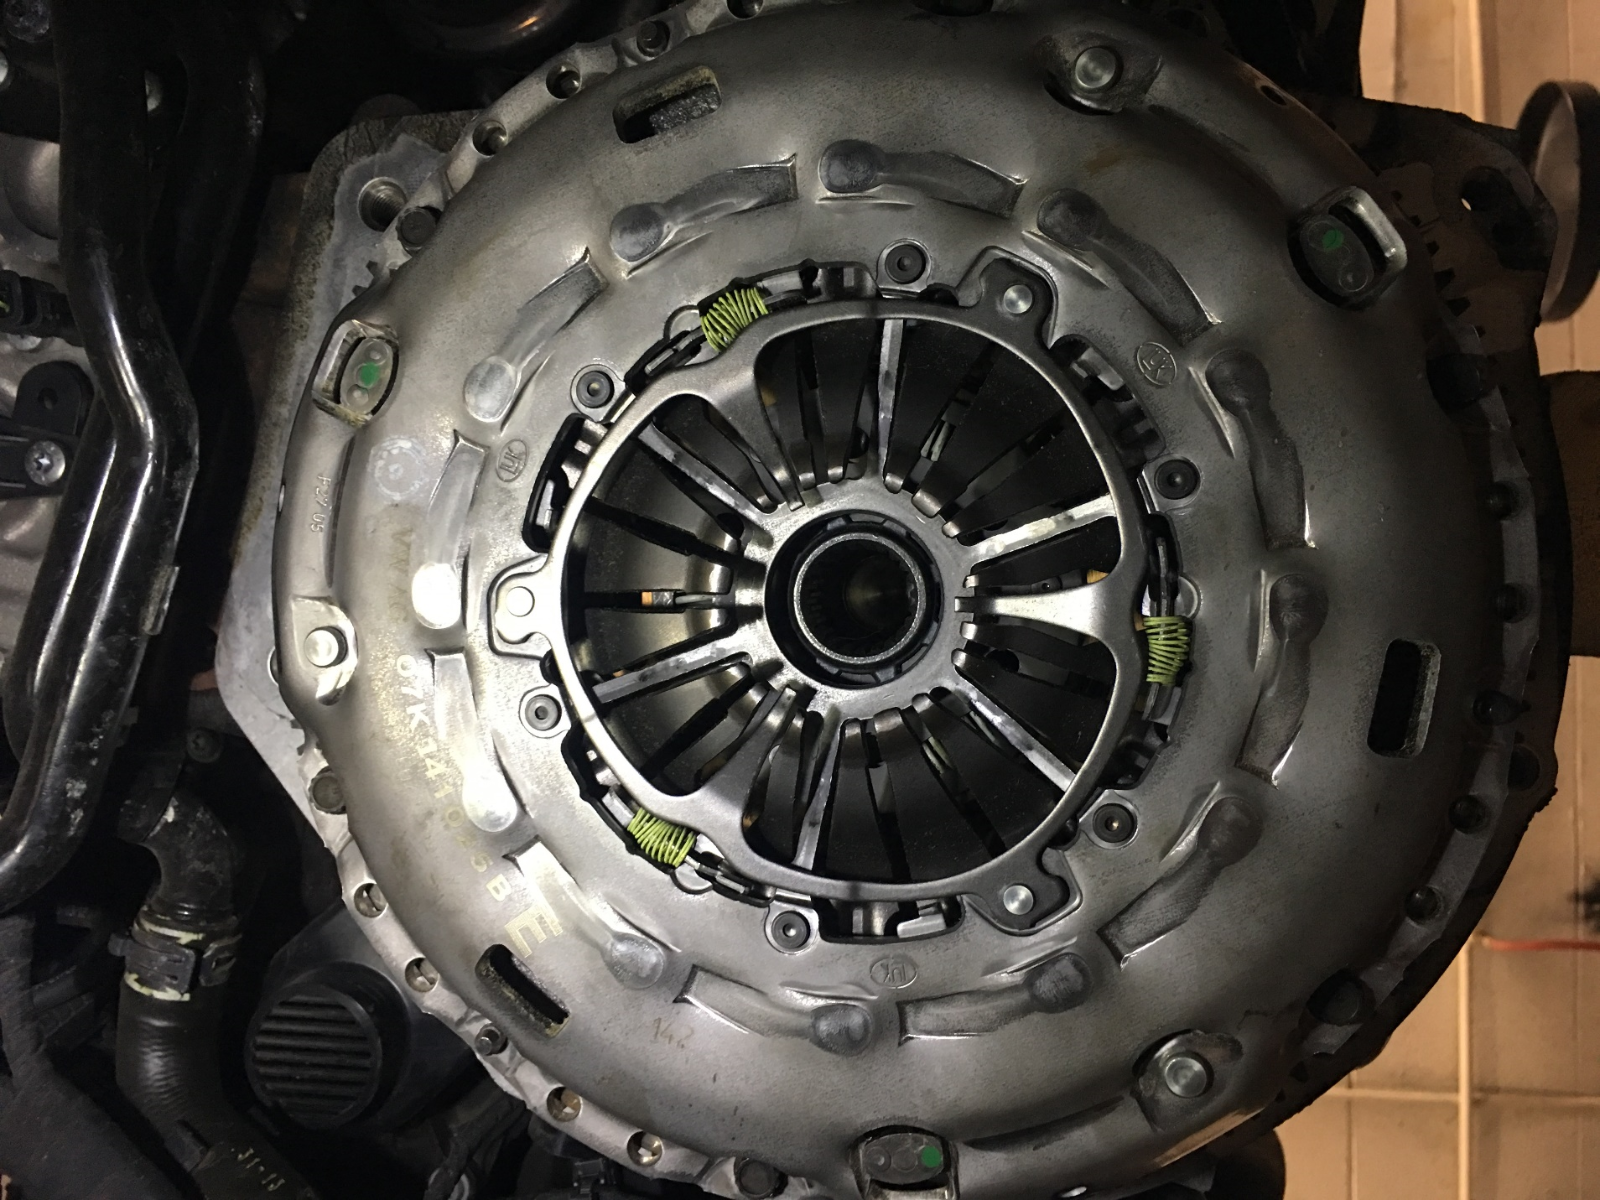
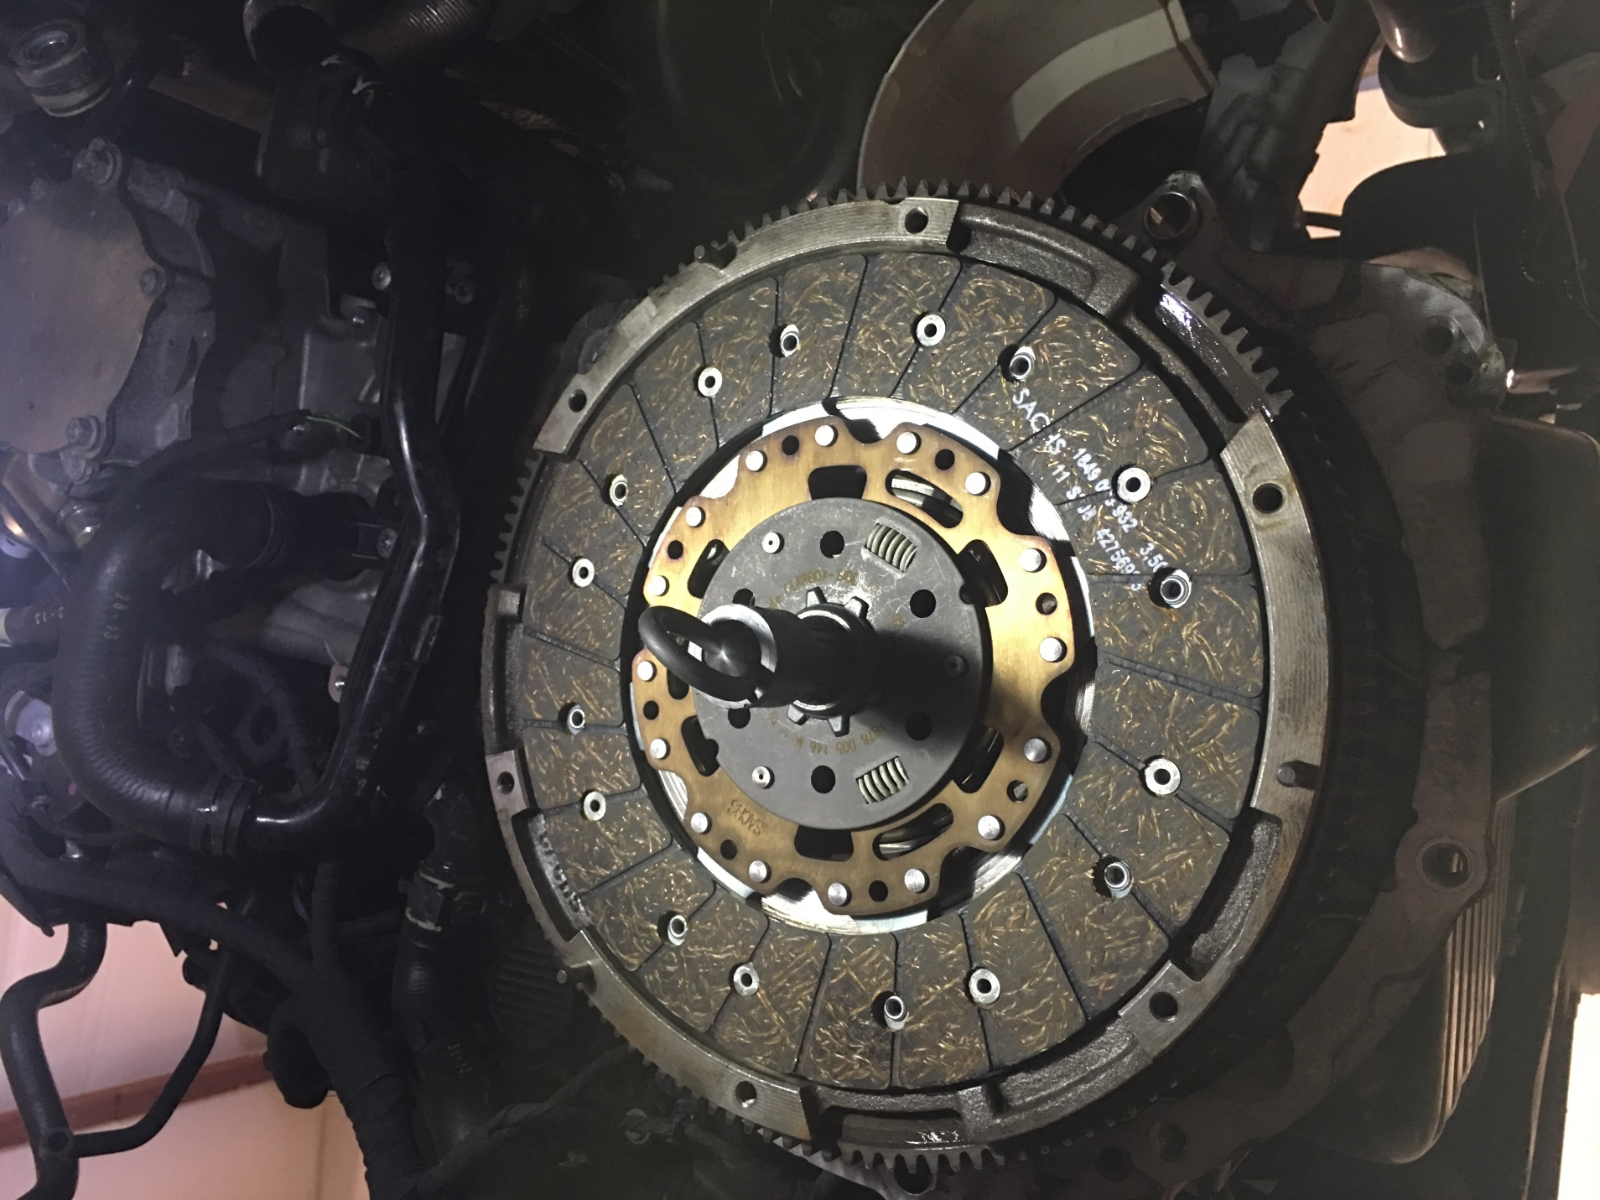
- After this is out remove the 12 point 9mm bolts securing the pressure plate to the flywheel and remove the old pressure plate and clutch disc and inspect the flywheel and replace if necessary or purchased with it.
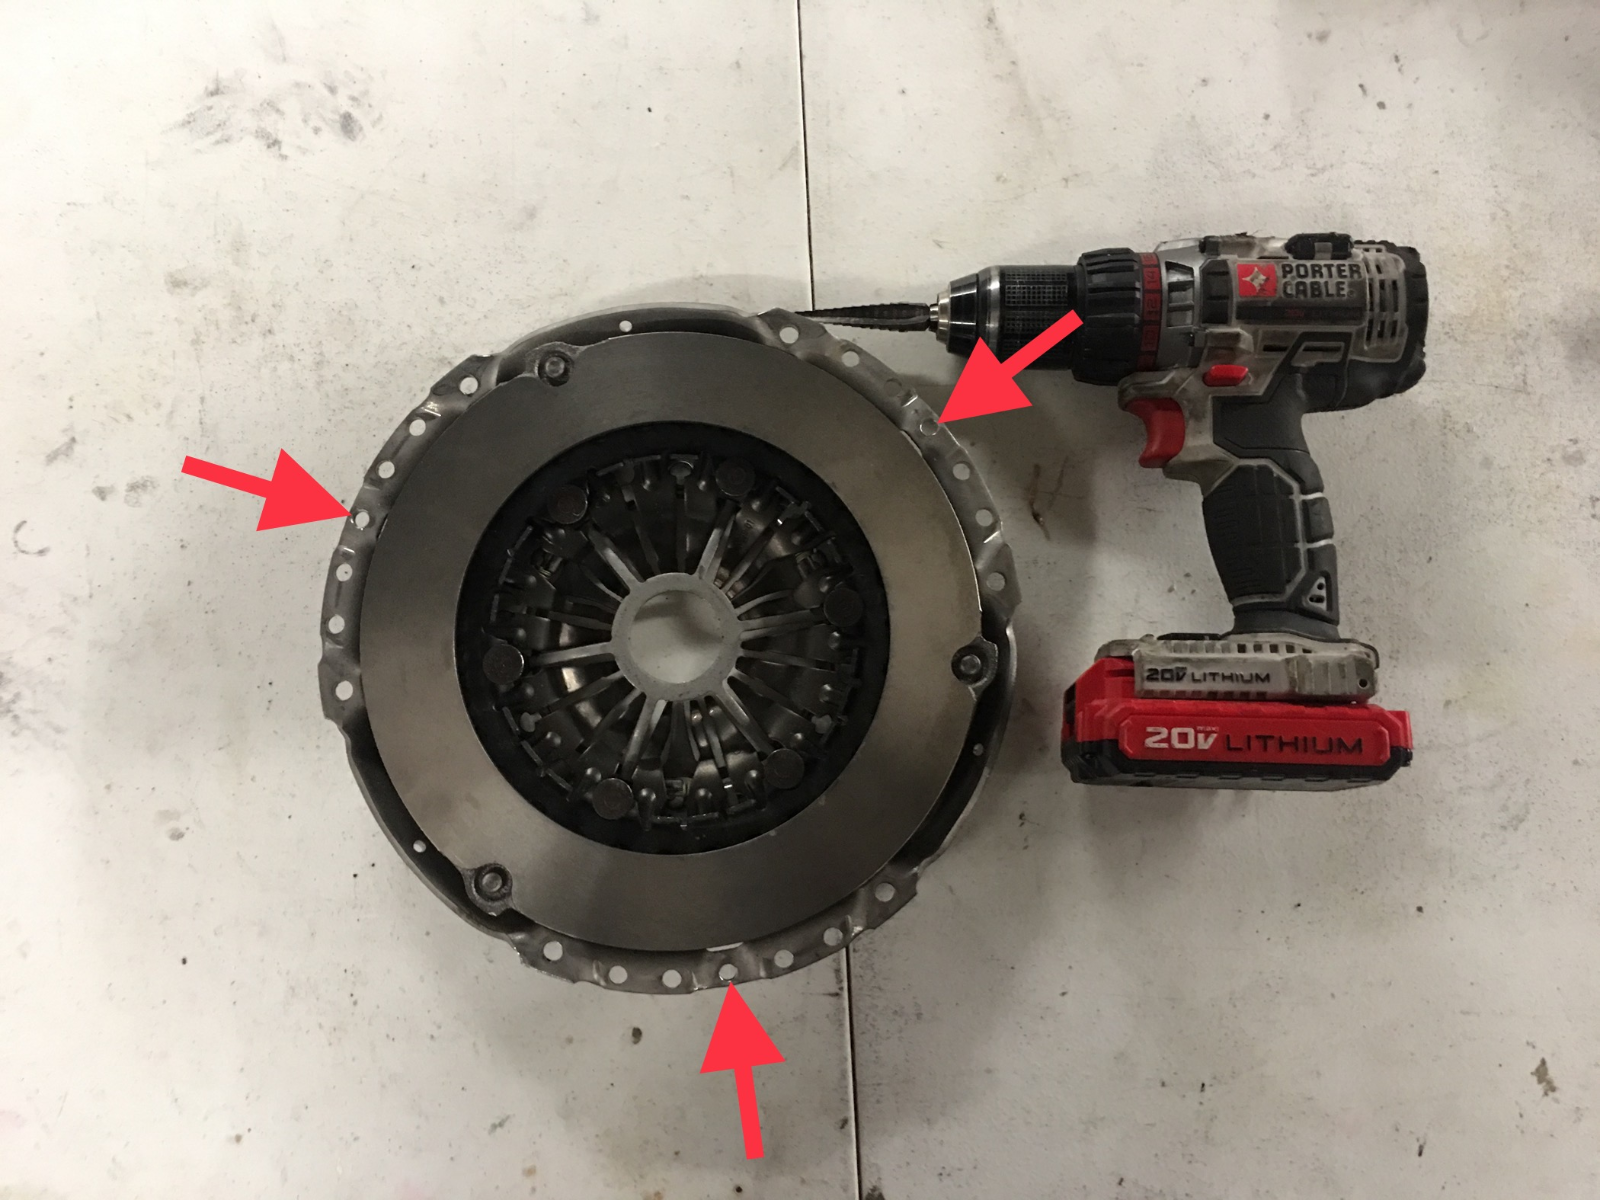
- Next you will need to drill the new pressure plate pilot holes. The pilot holes on the TTRS pressure plate are smaller than the centering pins located on your flywheel. Using the drill bit (15/64 drill bit or stepped drill bit up to atleast ¼”) drill your holes and test fit youre pressure plate to the MK7 flywheel to ensure fitment.
- Insert the new clutch disc onto the flywheel making sure to note proper orientation and place the pressure plate over top and insert the clutch alignment tool to center everything.
- Reassembly is the reverse of removal stopping before putting the battery back in to bleed the clutch.
- Enjoy your New OEM Plus clutch.
Torque Specs
Clutch to flywheel Bolt- 20nm diagonal pattern
- Pressure Plate Bolts (qty 6)
Transmission mount/bracket – 60nm + 90 degree
- Bracket Bolt (qty 3 )
- Trans Moun Bolt (qty 4 total on veh)
- Trans Mount Bolt (qty 1)
- Trans Mount Bolt (qty 2 total on veh)
Transmission to engine 18mm bolts – 80nm
Transmission to engine 16mm bolts – 40nm
- Botl Engine Mount to Body (with Stud)
- Botl Engine Mount to Body
Shifter selector nut – 25nm
Cable bracket to transmission – 20nm
Axle bolt to spindle – 200nm + 180 degree
- Outer Axle Bolt (Qty 2 )
Axle to Inner axle cup Bolts – 70nm diagonal pattern
- Inner Axle Bolt (qty 12)
Axle cup to differential – 33nm
- Bolt Drive Flange to Diff (GTI) Qty 2
- Bolt Drive Flange to Diff (Golf R/ GTI PP) Qty 1
Ball joint nuts – 40nm + 45 degree
- Ball Joint Nuts (qty 6)
Wheels – 120nm diagonal pattern




Comments